With the booming of social media, taking appealing photos and sharing them online has become a daily thing for almost everyone.
For everyday users, their smartphone camera is the go-to tool for capturing daily moments to share with the world. But what if the picture turns out fuzzy? No sweat! Below are some tried-and-true ways to improve the camera quality. Scroll down to learn!
In this article:
Why Is My Camera Quality So Bad?
There are many reasons behind poor camera quality, but here are the two most common culprits:
Faulty sensor
If you notice unusual colored dots on the image, it could be due to the malfunctioning sensor. Dirt or debris on the sensor can also cause similar issues. Another sign of sensor damage is the presence of “graininess” or digital noise in your photos.
Wrong camera settings
You might not know this, but having the wrong settings on your phone can lead to low-res photos. For example, gaming applications running in the background may result in lagging during shooting, potentially messing with the picture’s resolution.
These applications often require high frame rates and resolutions, which take up a lot of buffer memory. A few reports also suggested that the airplane mode turning on is another hidden factor that takes a toll on the camera quality.
How To Change Camera Quality – 10 Pro Tips
Clean Your Camera Lens

As mentioned above, dirt or fingerprints can blur your photos, thereby reducing image quality. That’s why it’s important to have a microfiber cloth handy to wipe it clean gently. While some photographers use their shirts to clean the lens, doing so can do more harm than good. It’s because the rough material may leave nasty scratches.
In our experience, investing in a specified glass cleaning solution is a smart choice, ensuring a spotless surface. Don’t worry about the cost, as most manufacturers offer a set at a cheaper price than buying just one cleaner.
Utilize Manual Control
Professional photographers like us love to take control using manual settings for more personal and creative touches. This allows us to fine-tune the camera, ensuring it suits any situation and gives the sharpest pictures. However, it does take some know-how to manipulate the settings to the fullest. One of the hardest parts is to learn how to combine different elements to create the best photo.
For example, the exposure slider is useful when working in low-light environments. You can find it by holding down the screen until a slider appears. Another important customization feature is the focus lock, which ensures the target object stays within the framing grid.
Do Not Use Digital Zoom
Sure, we sometimes want a bit of zoom-in to see the details better, but the sad news is that digital zoom may reduce the camera quality. The camera uses algorithms to cut out a portion of the image, causing the misconception of a closer distance from the subject.
As a result, this process often results in compressed pixel values, causing a loss of resolution. Instead, we recommend optical zooming or simply moving closer to the object.
Take Advantage Of Photo Editing App
Most smartphones today are integrated with editing features; just access the camera, select an image, and tap on the Edit icon. From there, you can explore a range of tools, such as Crop, Rotate, Brighten, and more for post-processing.
However, little did you know that the Sharpness and Definition features can enhance the picture quality. To do so, move the slider little by little until you get the desired resolution. Pre-installed filters also provide similar effects, but it is best to edit the picture yourself to your heart’s content.
Take Photo In Good Lighting

Good light conditions undoubtedly improve the sharpness of photos. As light rays pass through the lens, the shutter speed increases, and the wide aperture gets smaller. The expanded depth of field, as a result, produces more quality images.
Unfortunately, you cannot guarantee good lighting all the time, especially when shooting indoors or at night. In these cases, take advantage of your camera flash for close-up shots. If you feel fancy, you can use reflectors or spotlights to create a powerful light source and control its direction.
Invest In Attachable Lens
Purchase an attachable lens if you want to zoom in on an image without sacrificing its resolution. These items are easily clipped onto your smartphone and expand the camera’s field of view based on their specific design. Here’s a friendly reminder: Research the function and material of the product before paying for it, as some might not live up to your expectations.
Poor-quality lenses can worsen the photo quality. But buying a high-quality one doesn’t necessarily break the bank, as there are some cheap yet reliable lenses out there. These products are also compact and portable, so you will find it easy to carry them out for outdoor shooting.
Utilize Third-Party Photography Apps
A quick search on Google Play Store or App store will reveal many photography applications with advanced quality. One competitive advantage of these apps is better control compared to phone cameras. They offer a wide range of tools and filters for manual lens adjustments. Plus, these apps excel at preserving image resolution and processing RAW images, ensuring overall photo quality.
Switch To Back Camera
The front camera is great for selfies but doesn’t guarantee good quality. Instead, switch to the back camera if you want sharper photos. Its secret lies in greater resolution, which minimizes the possibility of grainy images when zoomed in. Even better, the back lenses have extra space for sensor installation to enhance quality.
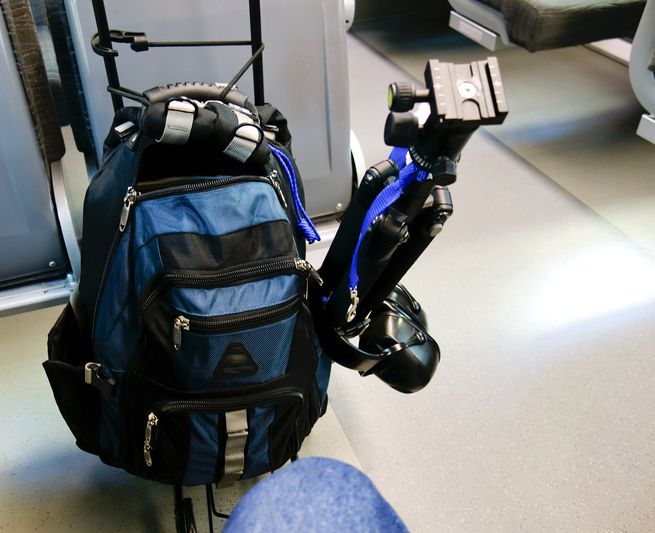
Install A Tripod

Imagine this: you have posed perfectly with ideal lighting and background, but the camera suddenly shakes and produces blurry photos. This is when a tripod enters the sense to hold your phone securely, ensuring optimal image quality. This gadget comes in handy during long or night photo shoots.
Most tripods designed for smartphones come with adjustable legs and even a remote shutter button, allowing for easy setting and storage.
Set High Resolution
Smartphones are often set to medium resolution to save memory space, which unintentionally reduces the quality of the photos. To change this, go to Settings and select the highest resolution. However, you should save the images on an external SD card or a cloud service. The higher the resolution, the larger the size and the better the quality.
Specific Camera Tips For iPhones
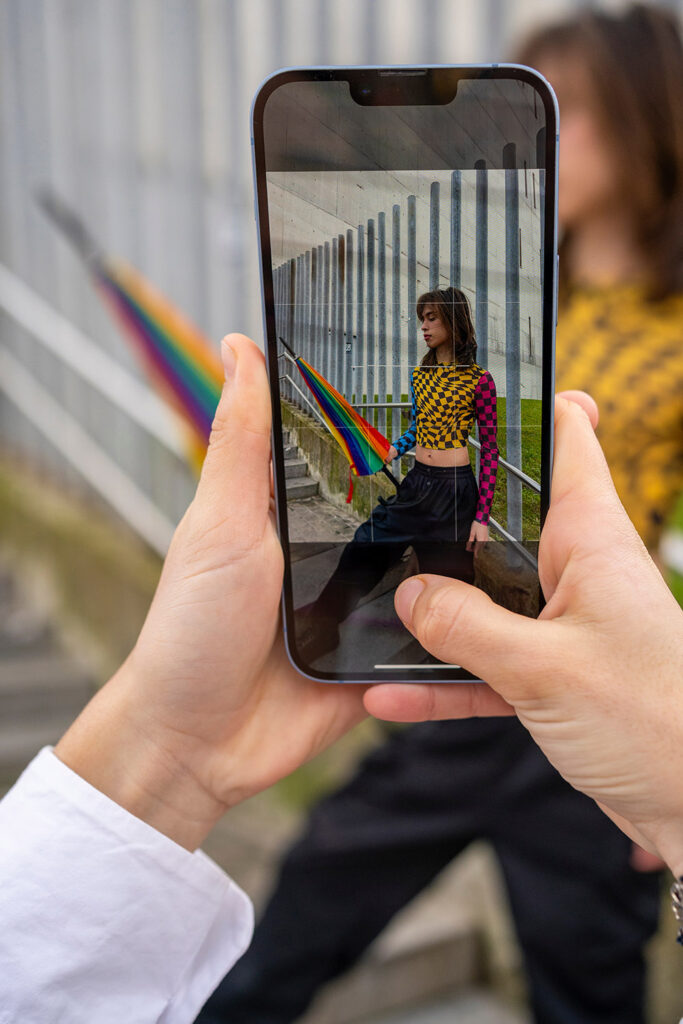
Zoom And Lock Focus
The iPhone lens may detect many objects in the frame, potentially distracting from your intended subject. To take a good photo, you’d better lock the focus. This strategy keeps the light focused on the target while making the surrounding area a little darker, increasing depth and contrast in the result.
Combined with zooming, it provides captivating close-ups. However, do not overuse this function, as it may distort the image. If you have to zoom in beyond 2x, it is better to shorten your distance from the subject.
Adjust The HDR Setting
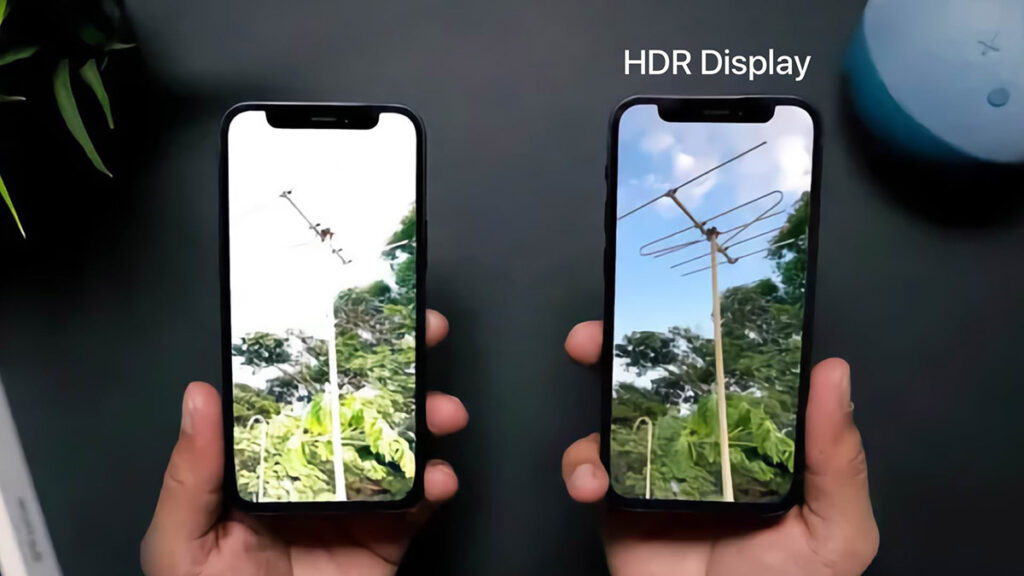
HDR, which stands for high dynamic range, improves the clarity of the output by enhancing color contrast. The camera takes multiple exposures in the same shot and then stitches the best parts together.
As a result, the shadow parts become deeper, accentuating the focus area to give the most vivid result. Most iPhone models automatically turn on Smart HDR. You can deactivate it in the file format settings, but we recommend never doing so.
Lower The Exposure
If you take photos in backlight, reducing the exposure to minimize glare is a must-try technique. Conversely, slide the bar up when you take photos in low-light situations. Do not hesitate to adjust the exposure manually to find the perfect balance for your shooting environment.
Store Photos As HEIC Files
While regular phones store images as JPEG, iPhones have supported the HEIC format since 2017. This option allows you to compress images without losing quality. Check your previous camera settings and enable this function now.
When you want to edit and transfer your images to other users, export your images as JPEG—a common image format supported by other operating systems. It is worth mentioning that the quality probably decreased.
Use Burst Mode
The burst mode produces a series of photos taken within a few seconds (about 10 pictures per second). When you go to your iPhone photo library, those images are marked with an “X” symbol. This mode is useful when shooting moving objects, sports events, and animals. Additionally, it is great for portrait mode, helping you capture those fleeting expressions.
For older models, you must activate the Burst mode in Settings before applying it. Press and hold the shutter button for iPhone X and later until you get the desired moment.
How To Get Better Camera Quality On Android Phones
Shoot In RAW
Like HEIC files on iPhone, Android devices offer the RAW format to maintain image quality. Tap the gear icon at the top of the Android camera settings section to turn it on.
When shooting in RAW, the camera saves all the original photos the sensor receives without any processing, such as compression or color tweaking. This provides greater flexibility for flexible post-production editing. If your mobile phone does not support this format, opt for the highest JPEG quality.
Set Natural Color
Modern smartphones possess advanced display technology that produces many eye-catching color fields. However, when it comes to shooting, the default format mode often results in oversaturated images. To solve this situation, navigate to the camera settings and tap on Display. Then, toggle the Natural Tones, which serve better color accuracy when using manual adjustment.
Use Shot Selection
The Samsung Galaxy series was one of the first models to utilize Shot Selection. This mode uses artificial intelligence to analyze and recognize the scene and then provide suggestions for users to choose the appropriate shooting angle. Users do not need professional photography skills to produce the best photos.
Adjust Shutter Speed
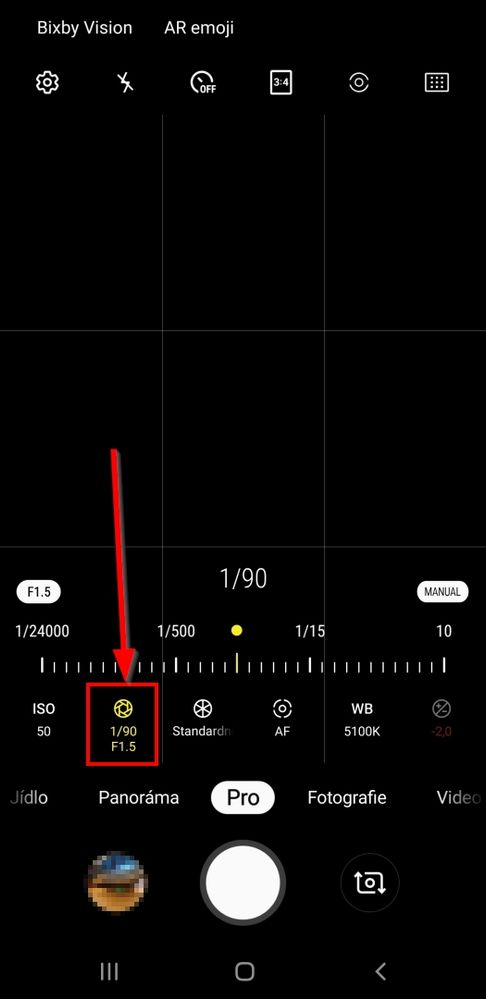
Shutter speed refers to when the shutter opens or closes so that light comes into contact with the sensor. It equates to the exact amount of time your camera records. This technical aspect affects ISO and exposure.
The lower the speed, the longer the sensor is exposed to light. As a result, the result’s brightness increases, and vice versa. The shutter speed varies in each shooting condition. From our experience, a shutter speed of 1 second or longer is recommended for night photography. A range of 1/250 to 1/500 is often suitable for bright outdoor conditions.
FAQs
Which iPhone Has The Best Camera?
The iPhone 15 Pro Max is considered the best camera due to its large sensor and outstanding zoom lenses.
Does Storage Affect Camera Quality?
Fortunately, NO. The resolution (megapixel count) and sensor size determine the camera quality.
Conclusion
As you’ve seen above, there are many ways to improve camera quality. Remember, understanding critical camera settings is key. Regular practice also sharpens your photography skills. So, grab your camera and experiment with the tips above. Let your creativity run wild and capture the stunning world around you now!