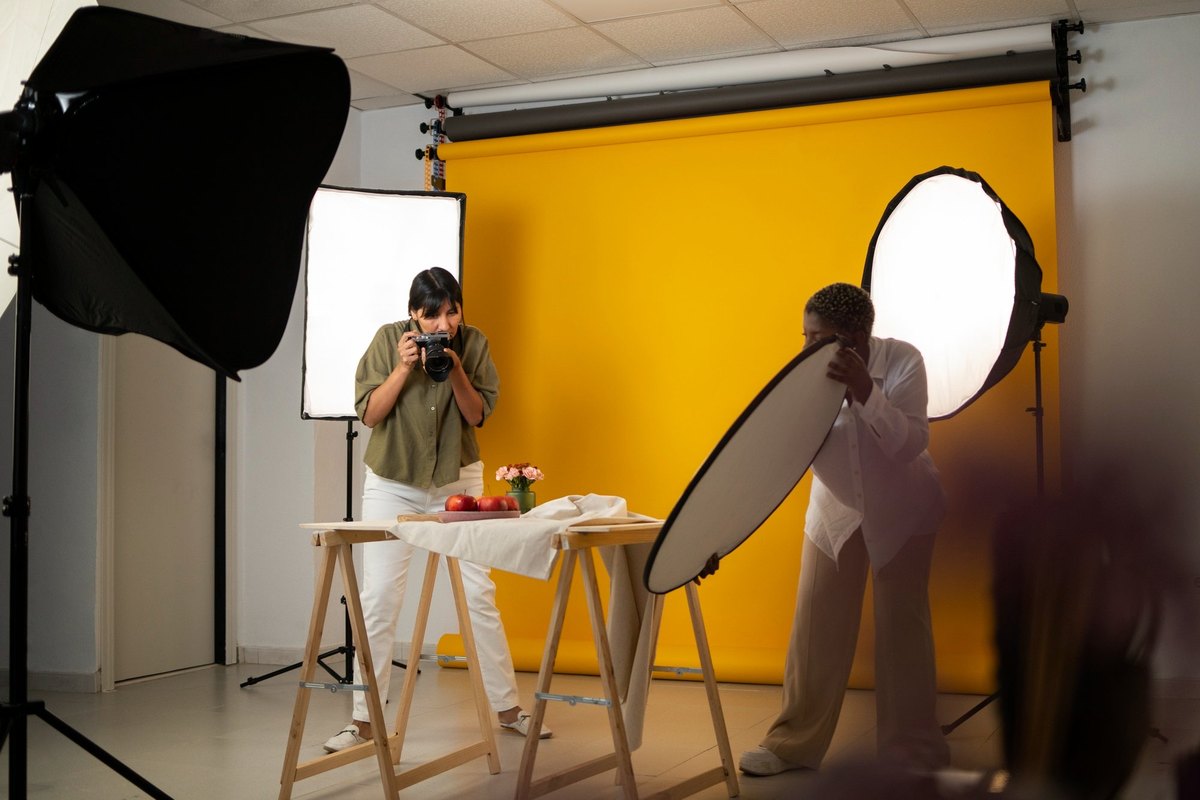

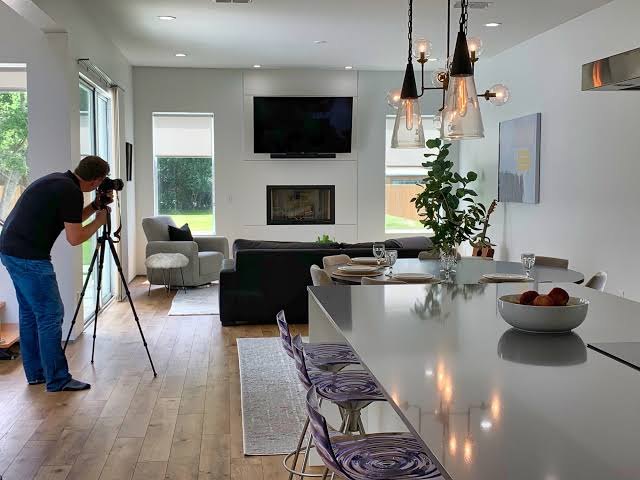
A property shoot goes wrong in a predictable way: four hours across a dozen rooms, a handful of usable frames each, and no consistency from one room to the next. The cause is rarely the camera. It is walking in without a plan and deciding everything on the spot while the agent waits by the door. Real estate work rewards the opposite approach — a routine that runs the same way in a studio flat as in a five-bedroom house, so decisions are made before arrival and the shoot itself is mostly execution.
The routine below is broken into five habits, each with a reason.
In This Article:
Learn the house before seeing it
The floor plan or the stated dimensions are worth asking the agent for ahead of time. Listings quote area for a reason, and that single number covers most of what needs to be packed. A studio and a four-bedroom house are different jobs, not the same job at two scales — different shot counts, focal lengths, and time on site.
When only wall lengths are available, each room’s floor area can be calculated in square feet by multiplying the lengths of two adjacent sides. For odd-shaped figures, the area is approximated by a rectangle. An L-shaped living room measuring 12 by 15 feet with a 6-by-8 nook comes to 180 plus 48, for 228 square feet. That number is not trivia: it flags a room that needs more than one angle and probably two lenses, and it shapes the visit in advance rather than mid-shoot.
The area also drives lens choice. A room of around 100 square feet needs something in the 16–24 mm range on full frame to hold two walls and the floor without backing into a corner. Moreover, an open-plan space is better served at 24–35 mm, where verticals remain honest, and edges do not stretch.
Find the middle and hold it
Rooms photograph best from near their center, at a height that stays fixed across the set — chest level, roughly 1.2 to 1.4 meters. A central position keeps opposite walls balanced, besides tilting up or down, fans the verticals out until the room looks like it is falling over.
The center of a rectangular room can be found by treating two opposite corners as points and taking the coordinate halfway between them — the average of the two x-values and the average of the two y-values. Corners at (0, 0) and (16, 12), for instance, give a midpoint of (8, 6). That point is the starting position. It is relevant to note that furniture and sightlines dictate the final adjustment, but the middle comes first.
Height is the detail most often skipped, and it shows. One room shot at 1.2 meters and the next at 1.6 meters produces a mismatch that a buyer feels while scrolling, even without naming it. A tripod set to a repeatable height removes the problem — locked once and left.
Make peace with the light
Indoor lighting is the real work. Daylight through a window, a warm table lamp, and an overhead LED are three color temperatures in one frame, and no single white balance keeps all of them right. The usual fixes are to blend several exposures or to bracket and merge, holding the window and the shadows at once. Remember that shooting in raw preserves the latitude those blends depend on. Either way, the white balance has to stay consistent across the property, or the set stops reading as one home.
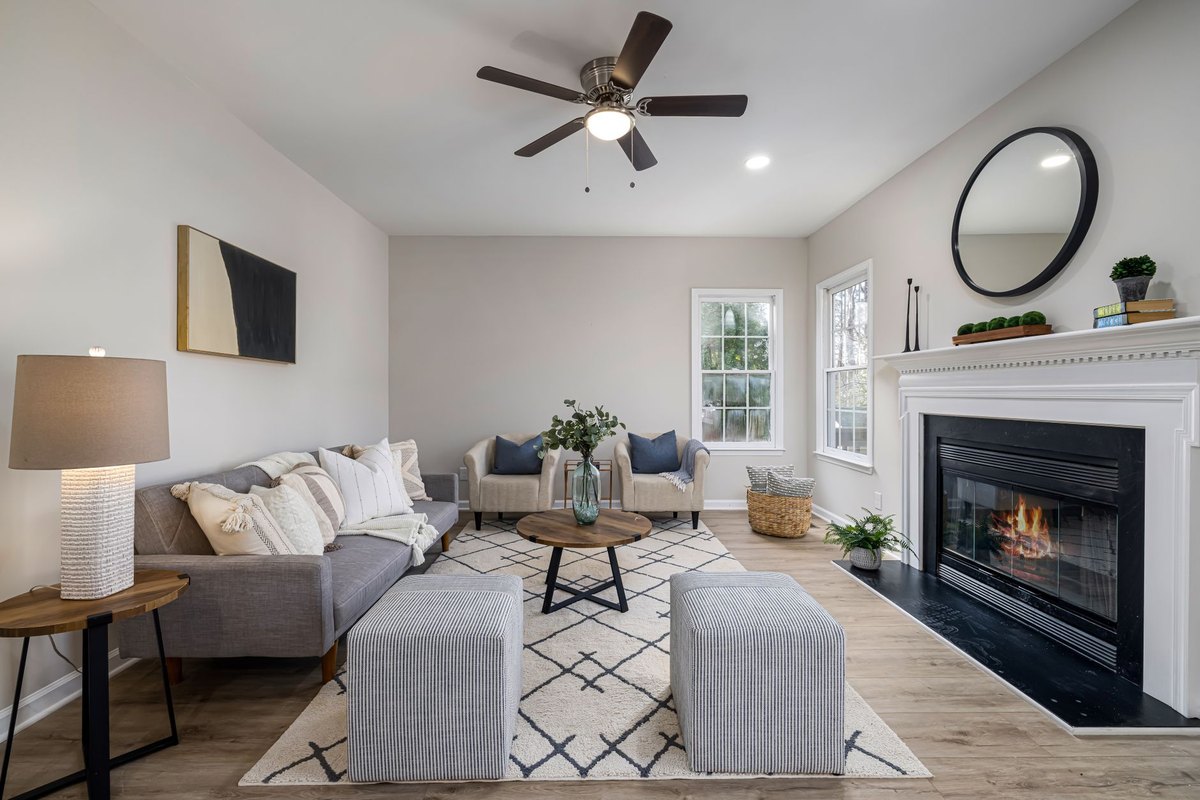
A degree of enhancement is expected, and the trade is open about how far it goes. Coverage of the staging and editing habits behind polished listings runs the gamut from the familiar — clearing clutter, greening a tired lawn, lighting a fire in an empty hearth. Accuracy is the line worth holding. Enhancement that flatters is fine; however, enhancement that misrepresents the room invites complaints, and in some markets, legal trouble.
Edit once, apply everywhere
Efficient processing means deciding on one frame and letting the rest follow. Exposure, white balance, and lens correction get set on a reference shot per room, then synced across the others. Verticals are best corrected with the geometry and lens-profile tools rather than by eye — a one-degree tilt hides on a wall and jumps out on a door frame. Evened-out brightness from room to room lets the gallery read as a single walk-through.
Those files outlive the listing. Clean frames feed brochures, and the strongest can be printed and framed for the walls during staging or handed to the client afterward. Reason enough to shoot a few considered frames per room instead of forty near-copies.
Know when it is a two-person job
Some shoots need a second photographer. Large properties, twilight exteriors, and same-day turnarounds are a lot for one person, and there is no fault in saying so. From the hiring side, the questions match those for any event: whether the portfolio holds together, whether the relevant work is there, and whether the deliverable is spelled out. Basically, this is the same checklist for choosing the right photographer for a job — past work, turnaround, and edit count agreed up front — carries over cleanly to property shoots.
None of these steps is difficult on its own. The measuring, the centering, the fixed height, the edit thought through once — each is a small habit. Run together the same way every time, they turn a four-hour job into a ninety-minute one, with every room looking like it belongs to the same place.